Understanding Epoxy Resin Floors: Benefits and Applications
Epoxy resin floors have become an increasingly popular choice for a vast array of settings, from residential garages to large industrial warehouses. Known for their exceptional durability, aesthetic versatility, and ease of maintenance, epoxy floors offer a seamless surface that combines functionality with visual appeal. Whether you’re considering revamping your home, upgrading a commercial space, or transforming an industrial area, understanding the core aspects of epoxy resin floors is essential for making informed decisions. To explore a wide range of options and receive professional guidance, visit our dedicated epoxy resin floor services page.
What is an epoxy resin floor and why choose it?
An epoxy resin floor is a type of surface coating composed of a resin and a hardener that chemically reacts to form a tough, durable, and chemically resistant surface. Applied as a liquid, the epoxy bonds strongly to concrete, wood, or other substrates, creating a seamless, often glossy finish. Its high resistance to wear, chemicals, and impact makes it ideal for demanding environments where longevity and performance are priorities.
The appeal of epoxy flooring lies in its versatility— it can be customized with various colors, textures, and embedded patterns, making it suitable for both functional and decorative purposes. Its seamless nature eliminates cracks, crevices, and joints, reducing dirt accumulation and simplifying cleaning routines.
Choosing epoxy resin floors is particularly advantageous due to their resilience in high-traffic areas, their contribution to improved safety (via slip-resistant finishes), and their ability to enhance the overall aesthetic of a space. For professionals and DIY enthusiasts alike, epoxy provides an economically viable solution with long-term benefits.
Common applications in residential, commercial, and industrial settings
Epoxy floors are remarkably adaptable, fitting seamlessly into various environments:
- Residential: Garages, basements, home workshops, and even kitchens benefit from epoxy’s durability and attractive finish. Many homeowners choose decorative epoxy designs such as marble or metallic effects to elevate interior aesthetics.
- Commercial: Retail stores, showrooms, restaurants, and offices utilize epoxy flooring for its seamless appearance and ease of maintenance. Logos and custom patterns can be incorporated for branding purposes.
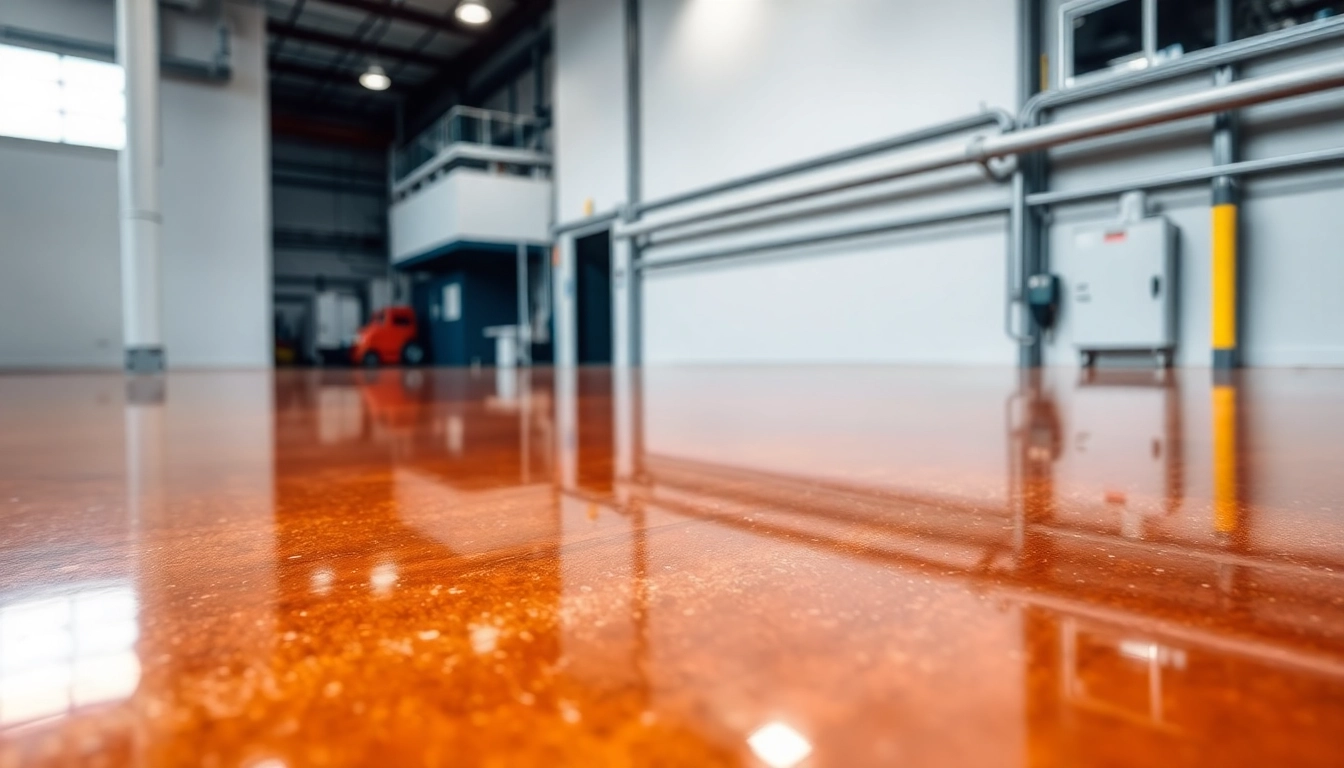
- Industrial: Warehouses, manufacturing facilities, and laboratories demand robust surfaces. Epoxy’s chemical resistance, impact toughness, and load-bearing capabilities meet strict industrial standards.
These widespread applications highlight epoxy’s capability not just as a protective surface but as a strategic design element capable of boosting operational efficiency and aesthetic appeal across sectors.
Key advantages: durability, aesthetics, and maintenance ease
Epoxy floors excel over traditional flooring options in several critical aspects:
Durability
Thanks to their chemical composition, epoxy coatings offer superior resistance to abrasion, impact, and environmental stressors. High-quality epoxy can withstand heavy machinery, foot traffic, spills, and even corrosive chemicals, thus significantly extending the lifespan of the floor.
Aesthetics
Modern epoxy formulations boast glossy finishes, a vast palette of colors, and specialty effects such as metallic, 3D, and marble appearances. These features enable precise customization, making spaces not only functional but also visually striking.
Ease of Maintenance
The seamless surface resists dust, dirt, and grime accumulation, simplifying cleaning routines to mopping and occasional washing. The resistant surface also minimizes the need for repairs or replacements, thus reducing maintenance costs over time.
Preparation and Planning for a Flawless Epoxy Floor
Surface assessment and proper cleaning techniques
The foundation of a successful epoxy application begins with meticulous surface preparation. Start by evaluating the existing surface— ensure it is structurally sound, dry, and free from contaminants such as oil, grease, or loose debris. Proper cleaning involves using degreasers, shot blasting, or acid etching to create a profile that promotes strong adhesion.
Consider that any residual dust or moisture can cause adhesion failure, leading to peeling or bubbling. Using industrial vacuums and moisture meters can ensure the surface is adequately prepared before applying epoxy.
Surface prep: repairing cracks and ensuring adhesion
To achieve a smooth, durable finish, repair any cracks, holes, or imperfections. Epoxy patching compounds can be used to fill cracks, followed by sanding to a level surface. Porous surfaces may require an etching primer or a bonding agent to improve adhesion.
This crucial step prevents future deterioration, ensuring the epoxy layer adheres uniformly and withstands daily wear.
Selecting the right epoxy type and color options
Different epoxy formulations exist to suit specific needs— for instance, water-based epoxies are suitable for DIY projects, while solvent-based or high solids epoxy offers superior durability for industrial settings. Consider factors like chemical exposure, foot traffic, and aesthetic goals.
Color choice is equally important; epoxy is available in solid colors, metallic finishes, and embedded patterns. Light-colored floors can brighten spaces, while darker tones hide dirt better.
Consulting with professionals or suppliers can help you choose the optimal epoxy type and design for your specific application.
Step-by-step Guide to Applying Epoxy Resin Flooring
Mixing ratios and application tools for optimal results
Precise mixing of epoxy components is critical. Typically, epoxy resin and hardener are combined in specific ratios— often 1:1 or 2:1— as indicated by the manufacturer. Mixing thoroughly with a stir stick or power drill mixer ensures a consistent chemical reaction, preventing sticky spots or curing issues.
Application tools vary from rollers, squeegees, brushes, to notched trowels, depending on the layer thickness. High-quality, long nap rollers and epoxy-specific brushes help achieve an even coat.
Pouring, spreading, and leveling techniques
Once mixed, pour epoxy onto the prepared surface in sections. Use a notched squeegee or notched trowel to spread the epoxy uniformly, then back-roll with a roller to eliminate air bubbles and ensure a smooth finish. Employing a self-leveling epoxy allows gravity to assist in achieving a flawless, even surface.
For decorative effects, such as metallic or 3D designs, additional layers or pigments are added during application.
Adequate tool control, consistent spreading, and attentive work speed help prevent streaks, uneven patches, or trapped bubbles.
Curing time, environmental factors, and troubleshooting common issues
Proper curing is essential for durability. Most epoxies require 24-72 hours to cure sufficiently, with full curing at 7 days. Temperature and humidity significantly influence curing; optimal conditions are typically between 15°C and 25°C with low humidity.
Environmental factors like dust, wind, or direct sunlight can introduce imperfections. To minimize issues, seal the environment, cover if necessary, and follow manufacturer guidelines strictly.
Common issues such as bubbling, white clouding, or peeling often result from improper mixing, contamination, or environmental extremes. These can often be remedied by gentle sanding and recoating, or in severe cases, complete removal and reapplication.
Designing with Epoxy: Style Trends and Customization
Marble, metallic, and 3D effects for unique appeal
Modern epoxy artistry allows for stunning visual effects. Metallic epoxy, infused with mica powders or pigments, creates a dynamic, shimmering surface reminiscent of liquid metal— perfect for high-end aesthetic projects. Marble effects involve layering different colors and swirling them to mimic natural stone.
3D effects utilize textured overlays and high-gloss finishes to add depth, making floors act as art pieces within your space.
Incorporating logos or patterns into the epoxy floor
Custom branding or artistic patterns can be embedded directly into the epoxy surface using stencils, decals, or color contrasting techniques. This approach is increasingly popular in storefronts and corporate environments, allowing businesses to reinforce their brand identity.
Skilled installers can develop intricate designs or logos that remain durable, resistant to wear, and integrate seamlessly into the overall floor aesthetic.
Best practices for maintaining epoxy floors long-term
Proper maintenance extends the life and beauty of epoxy floors. Regular sweeping using dust mops prevents abrasive particles from scratching the surface. Periodic damp mopping with non-abrasive cleaners keeps the surface shiny and free of stains.
Avoid harsh chemicals like acids or solvents that could damage the coating. Promptly clean spills, especially of oils or chemicals, to prevent staining or surface degradation. Ensuring adequate matting at entry points further reduces dirt and grit accumulation.
Evaluating Performance and Choosing the Right Suppliers
Indicators of high-quality epoxy products
Superior epoxy products exhibit features such as high solids content, excellent chemical resistance, fast curing times, and UV stability. Certifications like ASTM compliance, low VOC emissions, and positive reviews from professional contractors are markers of reliability.
Always verify product data sheets and request samples or testimonials before purchase.
Comparing costs, warranties, and customer reviews
Competitive pricing varies based on epoxy type, layer thickness, and project complexity. While DIY kits may be budget-friendly, professional-grade systems often involve higher investments but offer longer warranties and better performance guarantees.
Reading customer reviews and consulting with suppliers can reveal insights into product longevity and post-installation support.
Partnering with experienced installers vs DIY projects
While DIY epoxy projects can be rewarding and cost-effective, professional installers bring technical expertise, specialized equipment, and guaranteed results, which are crucial for large or complex applications. Improper application risks costly failures; hence, evaluating your project’s scope and your skill level is vital.
For high-stakes environments or visually impactful projects, partnering with experienced installers ensures durability, aesthetics, and long-term satisfaction.